How to Prepare Your Files for a Professional Photo Lab in Louisville
TK Broecker / 6 September 2026
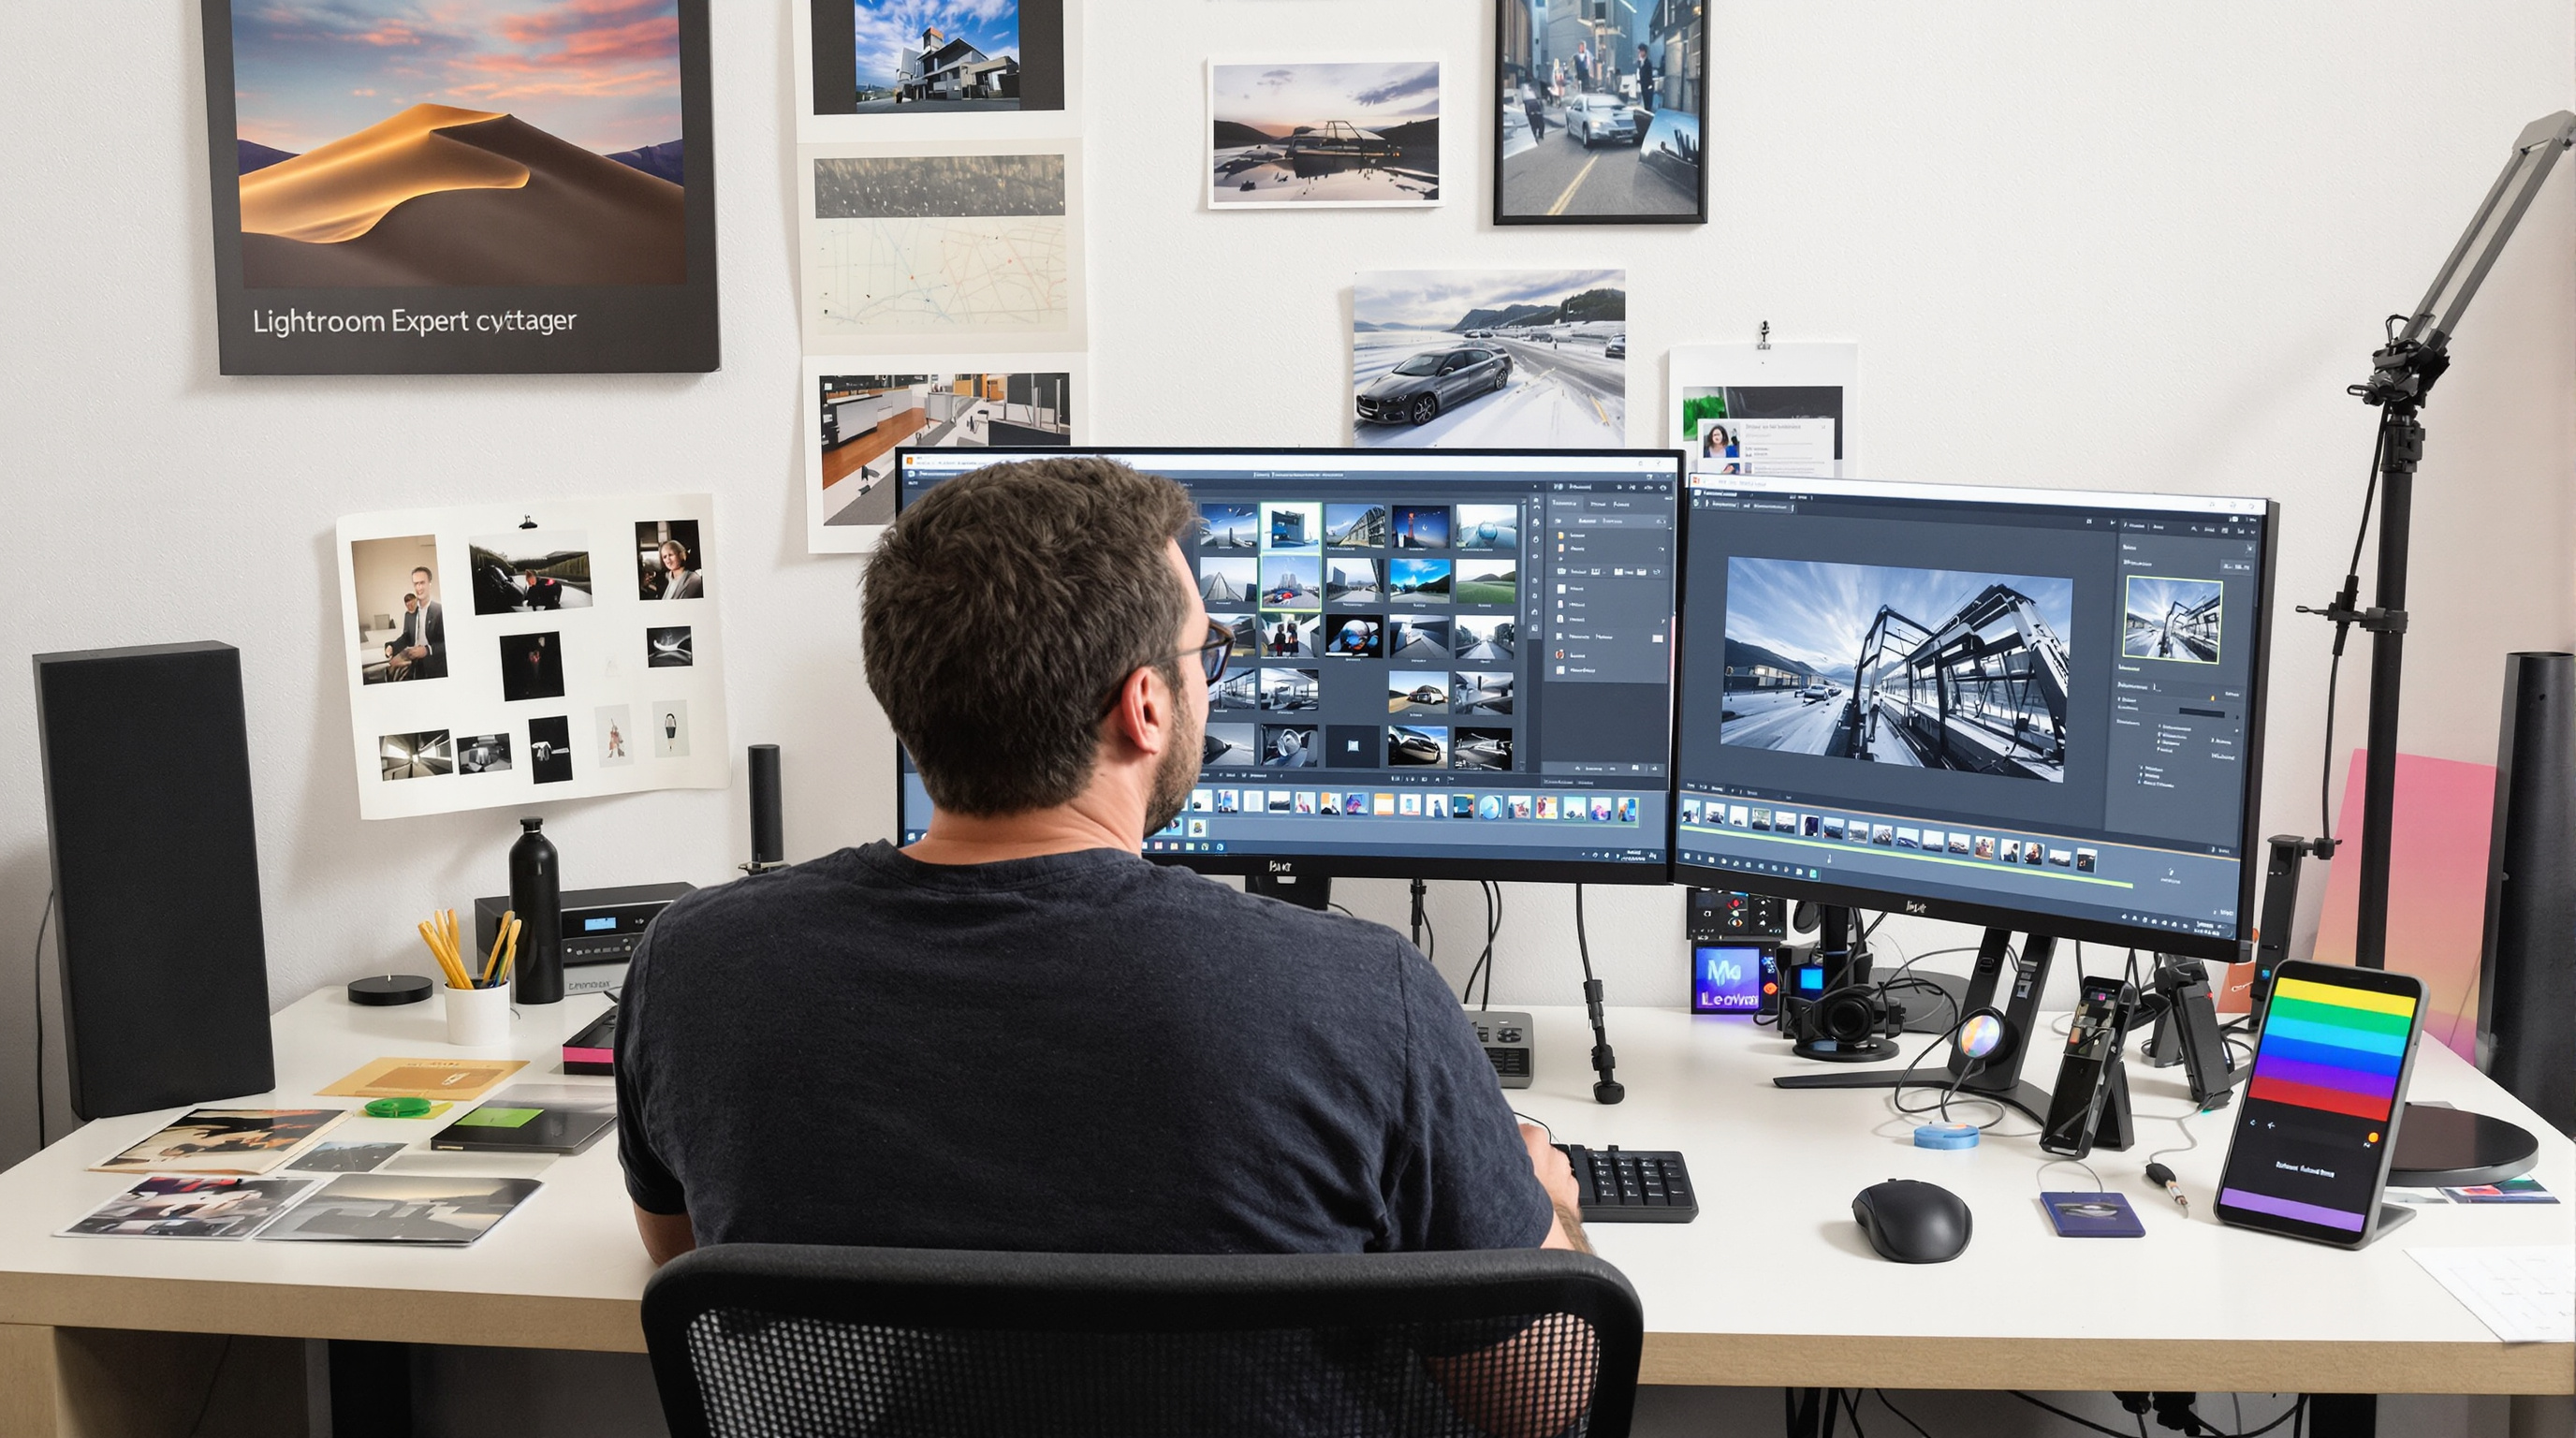
Sending files to a professional photo lab is not simply a matter of hitting export and uploading whatever Lightroom spits out. Whether you are working with a local lab in Louisville or shipping digital orders across the country, the quality of your final prints depends almost entirely on how well you prepare your files before they ever leave your hard drive. This guide walks you through everything you need to know — from color space and resolution to file naming and folder structure.
Understanding File Specs for a Pro Lab
Before you open Lightroom, you need to understand what your lab actually requires. Most professional photo labs — including those serving photographers in Louisville — specify their file requirements in detail, and failing to match those specs is one of the most common causes of color shifts, soft prints, and unexpected crops.
The most critical specifications to check with your lab are:
- Color space: The majority of pro labs print in sRGB. Some high-end labs support Adobe RGB (1998), which has a wider gamut and is preferred for fine art or large-format work. Always confirm which color space your lab uses. Sending an Adobe RGB file to a lab calibrated for sRGB will result in muted, desaturated prints — a very common and frustrating mistake.
- File format: TIFF (Tagged Image File Format) is the gold standard for professional printing because it is lossless and retains full image data. JPEG at maximum quality (Level 12 in Photoshop, or 100 in Lightroom) is widely accepted and perfectly suitable for most print orders. Avoid heavily compressed JPEGs.
- Bit depth: Export as 16-bit TIFF when possible for fine art, large prints, or heavily edited files. 8-bit JPEG is acceptable for standard lab orders.
- Resolution: The standard for photographic printing is 300 PPI (pixels per inch) at the final print size. Some labs accept 240 PPI for larger format prints. Never confuse PPI with DPI — DPI refers to the printer output, while PPI is the image file resolution you control.
- Sharpening: Apply output sharpening in Lightroom calibrated to the print surface — Matte or Glossy — and set the amount to Standard or High depending on print size. Do not leave sharpening at zero, as lab printers do not apply their own sharpening to your images.
Lightroom Export Settings for a Pro Lab
Adobe Lightroom Classic is the standard tool for most professional photographers, and its export dialog gives you precise control over all the specifications above. Here is a reliable export configuration for sending files to a pro lab:
- Image Format: JPEG (Quality 100) for standard orders; TIFF for fine art or large format
- Color Space: sRGB (or Adobe RGB 1998 if your lab explicitly supports it)
- Bit Depth (TIFF only): 16 bits per channel
- Resolution: 300 pixels per inch
- Output Sharpening: Screen — Glossy or Matte depending on paper; Amount — Standard
- Metadata: Include copyright info; strip location data if delivering client galleries
- File Naming: Use a structured naming template (see below)
One critical detail many photographers overlook: do not resize images in Lightroom unless you are certain of the final print dimensions. Let the lab handle sizing if you are ordering multiple products, or export at the exact pixel dimensions required for each product. Upsizing a file in Lightroom introduces interpolation artifacts; better to send the full-resolution file and let the lab's RIP software handle sizing.
File Naming Conventions for Professional Workflow
File naming is one of those unsexy topics that separates hobbyists from working professionals. A clear, consistent naming convention prevents duplicate files, simplifies order tracking, and makes communication with your lab infinitely easier.
A recommended naming structure for lab submissions:
- ClientLastName_EventDate_SequenceNumber — for example: Smith_20240510_0047.jpg
- Or for product-specific orders: Smith_20240510_0047_8x10.jpg
Avoid spaces in file names — use underscores or hyphens instead. Spaces can cause errors in some upload systems and FTP clients. Avoid special characters like &, @, #, %, !, () entirely. Keep names lowercase where possible for cross-platform compatibility between Mac and Windows systems.
When sending multiple orders for multiple clients, organize files into clearly labeled folders by client or event before uploading. Many labs in Louisville and elsewhere will process files exactly as received — if your file structure is a mess, your order turnaround and accuracy will suffer.
Building a Repeatable File Preparation Workflow
Consistency is everything in professional photography. The best photographers don't reinvent the wheel for every session — they build a repeatable system that becomes muscle memory.
A solid pre-submission workflow looks like this:
- Cull and edit in Lightroom — Complete all color grading, exposure correction, and retouching before export.
- Soft proof for your lab's paper profile — Download your lab's ICC profile, load it in Lightroom's Soft Proofing panel, and verify that your colors and tones will render correctly on their specific paper stock. This step alone can save you from significant reprints.
- Create a lab-specific export preset — Save your confirmed export settings as a named Lightroom preset (e.g., "Louisville Lab — sRGB JPEG 300ppi") so you never have to manually configure settings again.
- Apply file naming template — Use Lightroom's filename template editor to automate consistent naming at export.
- Organize into client folders — Move exported files into a clearly named folder structure before uploading.
- Upload and confirm receipt — Use your lab's preferred upload method (FTP, online portal, etc.) and confirm that files were received correctly.
Soft proofing deserves special emphasis. Most professional labs provide ICC profiles — color profiles that simulate how your image will look when printed on their specific paper and printer combination. Loading that profile into Lightroom's Develop module under View > Soft Proofing allows you to see a simulated preview of the final print and make targeted proof corrections before committing to an export. It is the closest thing to a preview of your actual print you can get without ordering a test print.
Conclusion
Preparing your files correctly for a professional photo lab is one of the highest-leverage skills you can develop as a working photographer. From choosing the right color space and resolution in Lightroom to establishing consistent file naming and a repeatable export workflow, every step in this process directly impacts the quality of the final product your clients hold in their hands. Take the time to build your system once, and your lab relationship — and your prints — will thank you for it.